

Protein Rice Krispie Treats
If you love the classic marshmallow treat but want something that fits better into an actual meal plan, this recipe is for you. Adding protein powder into the mix turns a sugary snack into something you can actually feel good about grabbing after a workout. They still taste like the treats you grew up with, just with a little extra staying power.
These are the basics that make healthy cooking fast and actually enjoyable: less mess, less time, and meals your whole family will happily eat.
- silicone baking matsCheck today’s price →
- muffin panCheck today’s price →
- monk fruit sweetenerCheck today’s price →
- almond flourCheck today’s price →
Amazon prices and deals change often, so it’s worth checking today’s price.
Why You’ll Love This Recipe
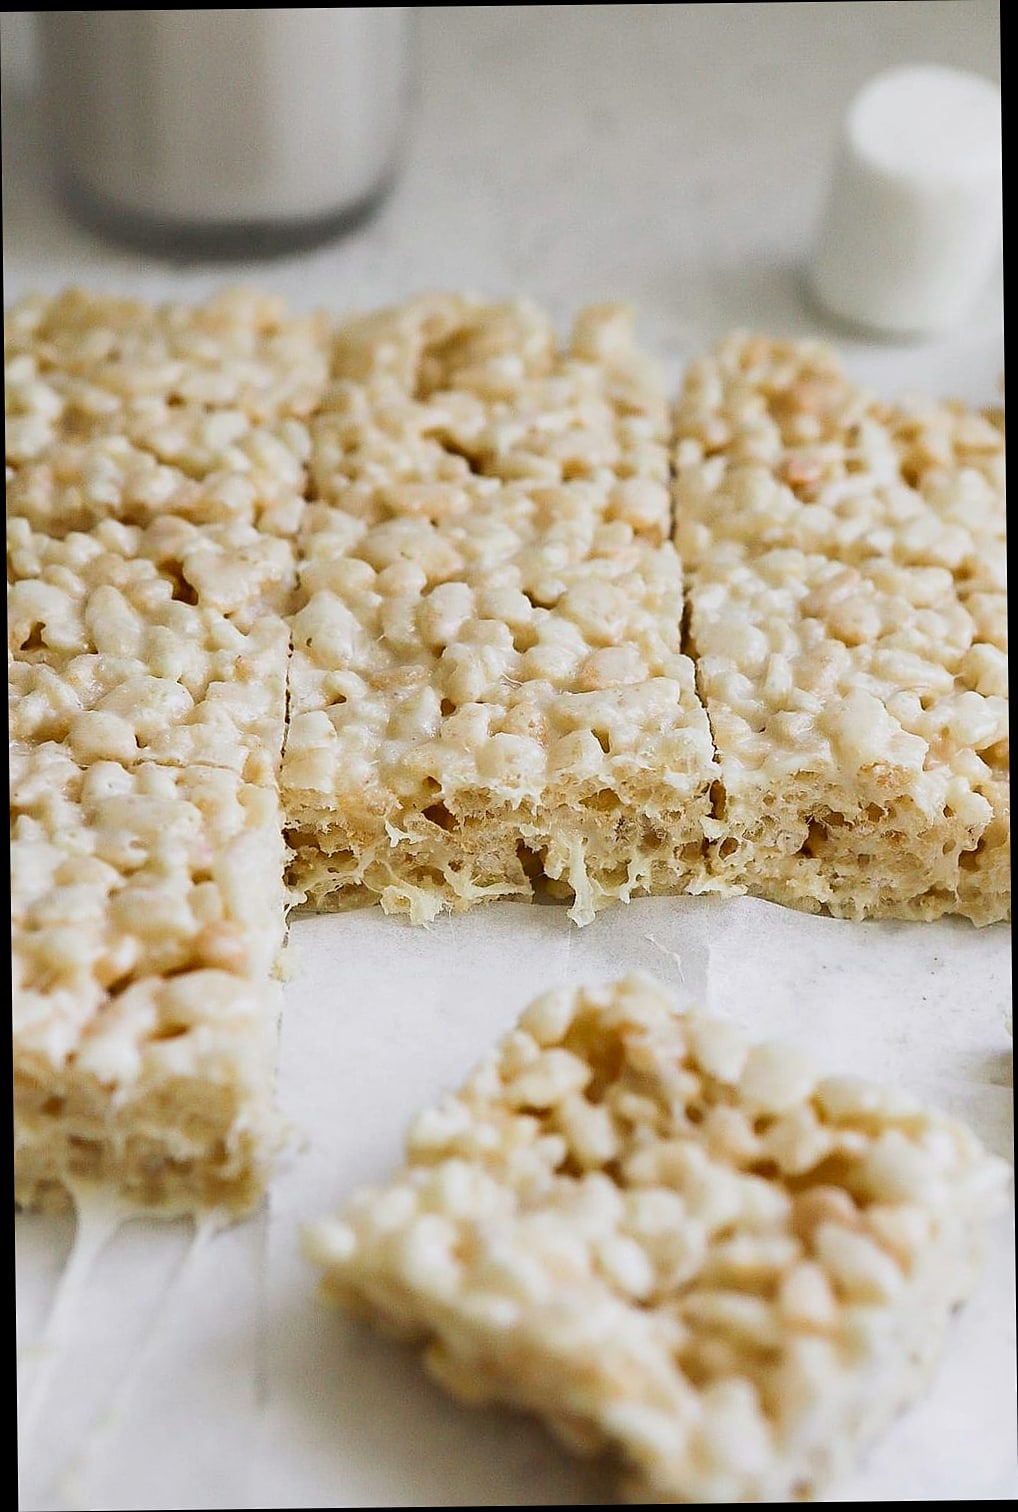
These come together in about 15 minutes, so there’s no reason to wait for a “special occasion” to make them. The texture stays soft and chewy instead of turning into a hard, crumbly brick, which is honestly the biggest complaint people have with protein versions of this recipe.
You also get a good hit of protein without the treats tasting chalky or weird. That’s the part that surprises people most when they try these for the first time.
Ingredients You’ll Need
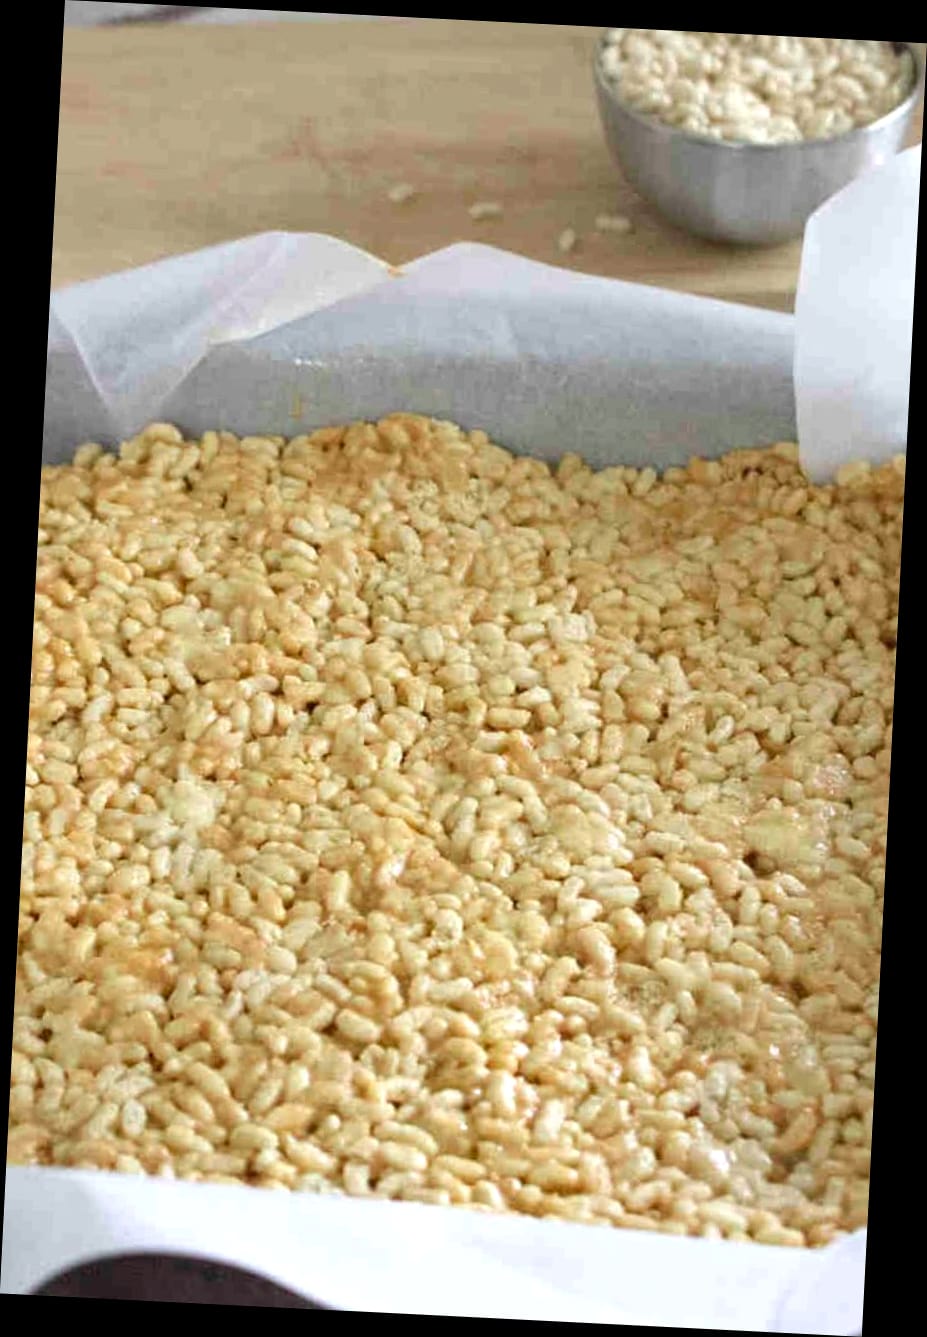
The base is the same as any Rice Krispie treat: butter, mini marshmallows, and crispy rice cereal. Butter gives you that rich flavor and helps everything set up nicely once it cools.
The protein powder is where things get interesting. A vanilla or unflavored whey or casein powder works best here, since it blends smoothly into the melted marshmallow without clumping. If you use a plant-based protein powder, know that the texture can turn out a touch drier, so you may want to add a splash more butter to compensate.
A pinch of salt rounds everything out and keeps the sweetness from feeling one-note. Some people like to stir in a spoonful of peanut butter too, which adds flavor and helps keep the bars soft.
Tips for the Best Results
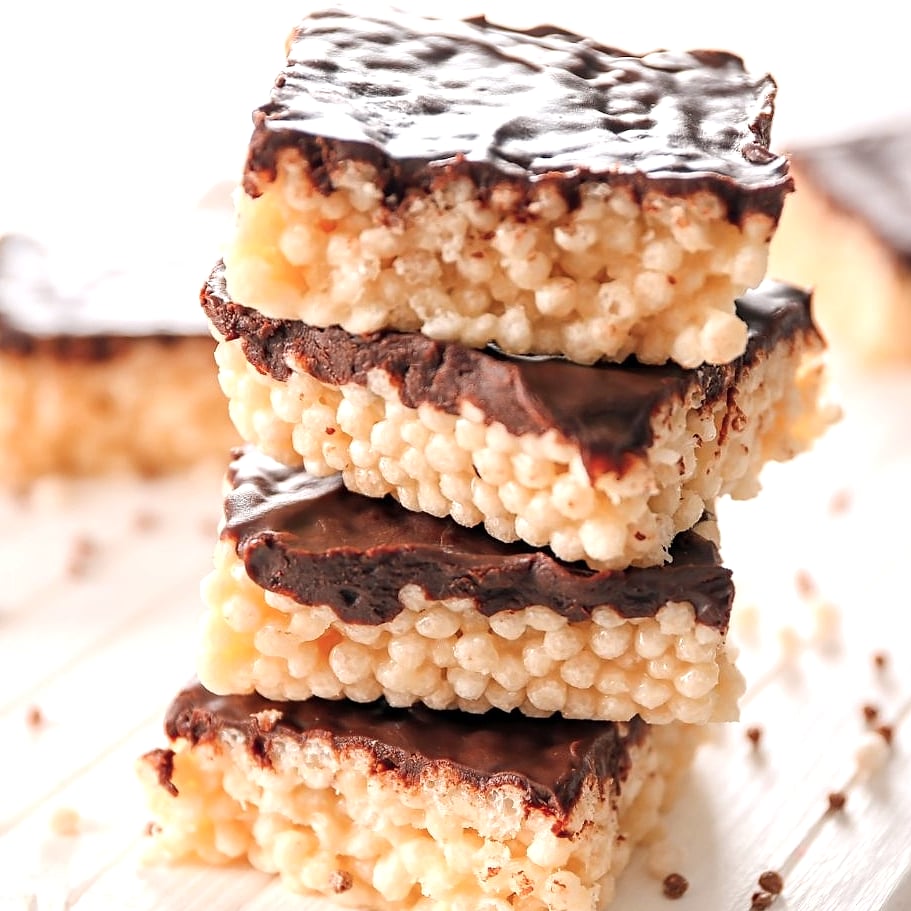
Stir in the protein powder off the heat, not while it’s still bubbling on the stove. Adding it too early can make the mixture seize up and turn gummy instead of smooth.
Press the cereal mixture into the pan gently. Pushing too hard packs the treats down and makes them dense instead of light and chewy.
Let the pan cool at room temperature for at least 20 minutes before cutting. Cutting too soon means the bars won’t hold their shape.
Storage and Reheating
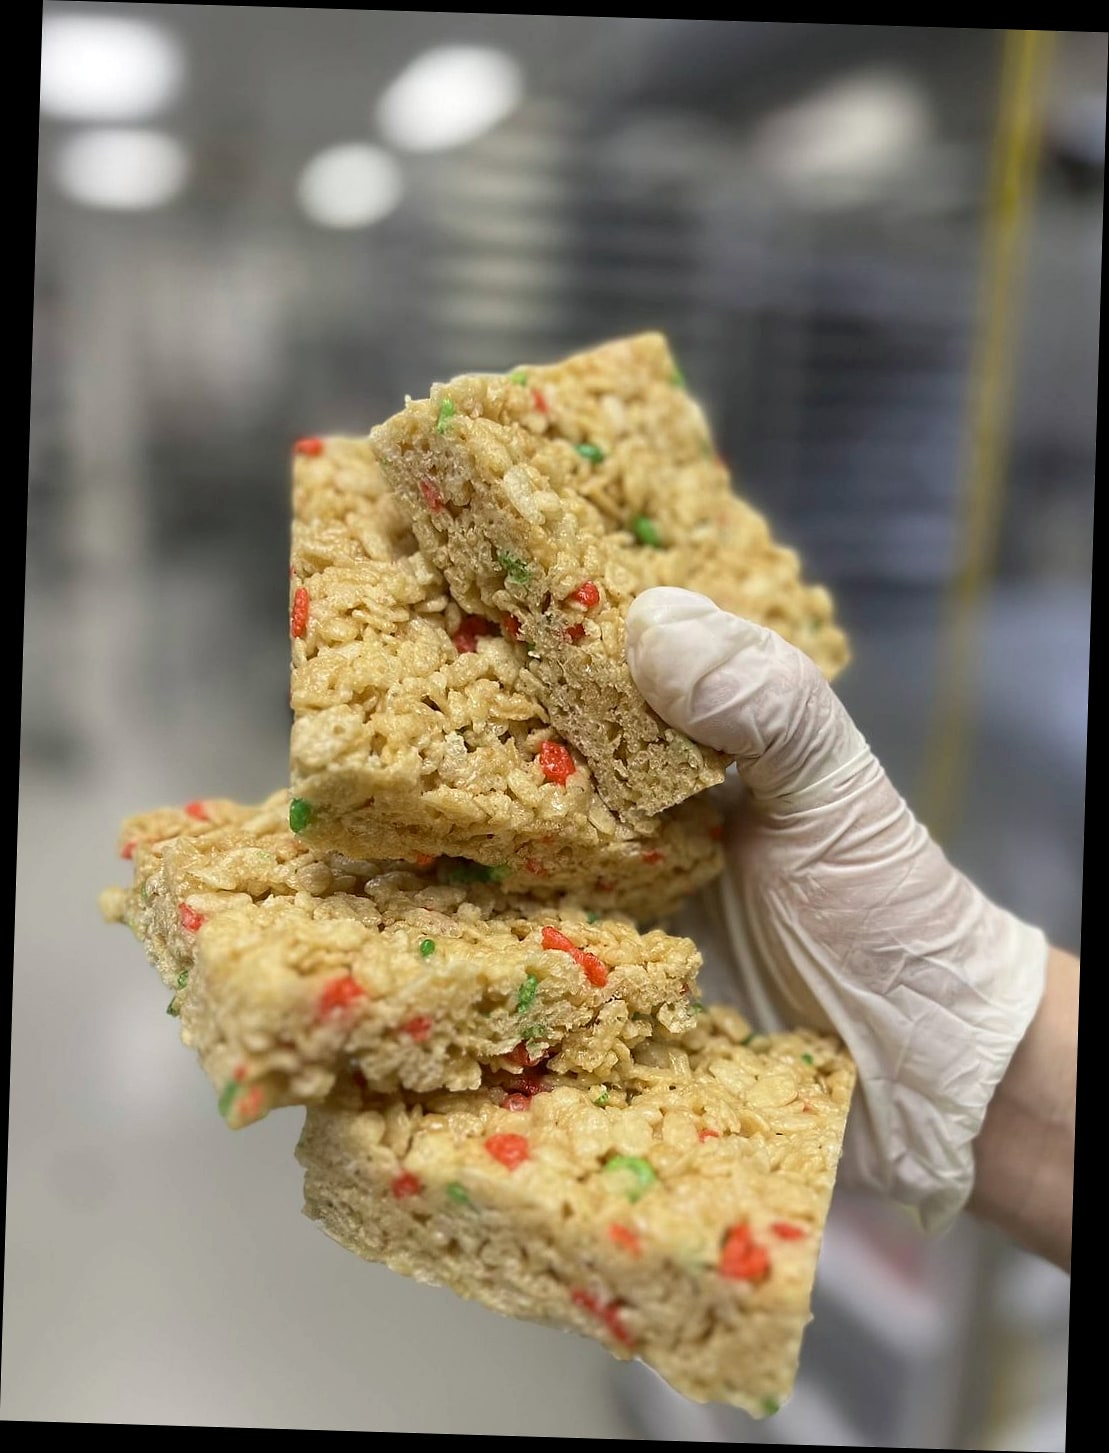
Store these in an airtight container at room temperature, and they’ll stay soft for about 3 to 4 days. Layer parchment paper between them if you’re stacking bars, since they can stick together.
There’s no real reheating needed here. If you want that fresh-off-the-stove softness back, a quick 5-second zap in the microwave does the trick.
Frequently Asked Questions

Can I use flavored protein powder?
Yes, vanilla or cinnamon works great. Chocolate protein powder is good too if you want more of a dessert-style bar.
Why did my treats turn out hard?
This usually means the marshmallow mixture got too hot, or the protein powder was added while it was still cooking. Low and slow heat is the key to keeping these soft.
Can I make these dairy-free?
Yes, swap the butter for a plant-based butter and use a dairy-free protein powder. The texture will be slightly different, but still tasty.
How much protein is in each bar?
That depends on the protein powder you use and how many bars you cut the pan into, but most versions land somewhere around 6 to 10 grams per bar.
product: Silicone spatula set
description: A sturdy silicone spatula makes it easy to stir the sticky marshmallow mixture and press it evenly into the pan without sticking.
Protein Rice Krispie Treats
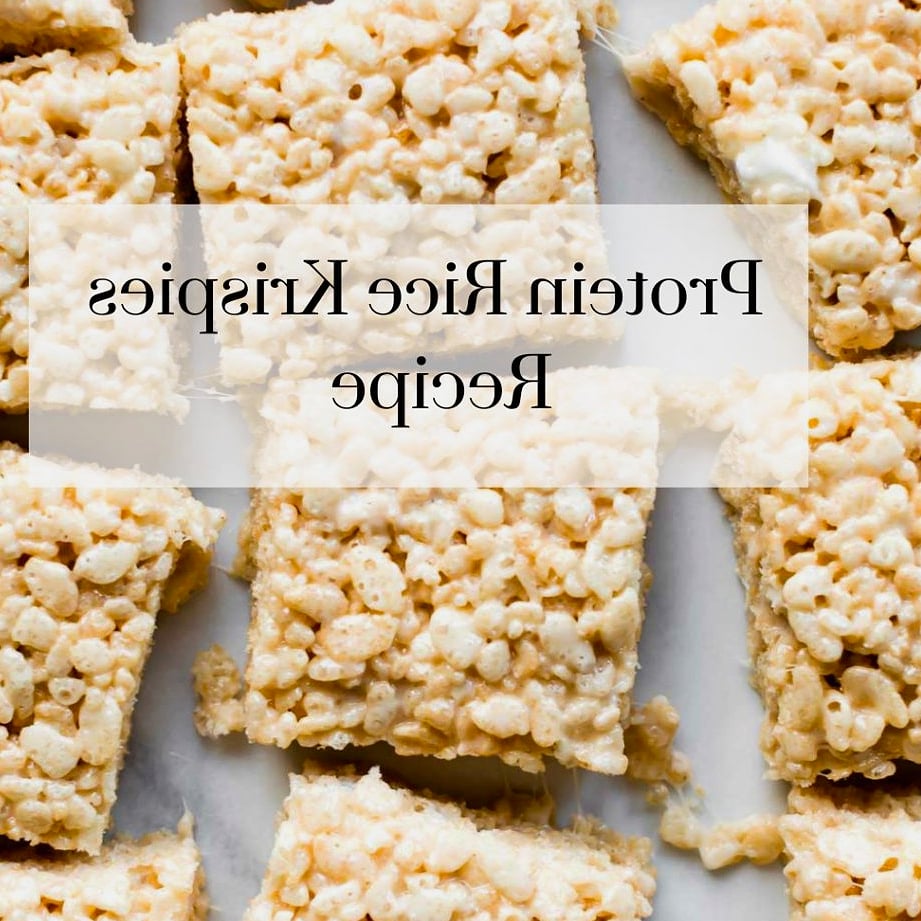
A soft, chewy twist on classic Rice Krispie treats with added protein powder for a snack that actually fills you up.
Ingredients
- 4 tablespoons butter
- 1 package (10 oz) mini marshmallows
- 6 cups crispy rice cereal
- 2 scoops vanilla protein powder
- 1/4 teaspoon salt
- 2 tablespoons peanut butter (optional)
Instructions
- Step 1. Melt butter in a large pot over low heat
- Step 2. Add mini marshmallows and stir until fully melted
- Step 3. Remove pot from heat
- Step 4. Stir in protein powder and salt until smooth
- Step 5. Stir in peanut butter if using
- Step 6. Add crispy rice cereal and fold gently until evenly coated
- Step 7. Press mixture gently into a greased 9×13 inch pan
- Step 8. Let cool at room temperature for at least 20 minutes
- Step 9. Cut into bars and serve